
I have been doing this for years, as a thrifty way to get nice custom frames/mats for my photos and art. It only took me one trip into a frame store to determine that I would never be willing to pay what it cost to have photos or artwork matted and framed, especially when they were not standard sizes. Once when I was trying to frame a piece of art that my husband had bought at a street fair, I walked into a "DIY" framing place, heard the price (the simplest possible frame and mat were upwards of $80, and this was years ago), walked out and into the TJMaxx next door, where I found a piece of framed art on clearance the exact same size as my piece, and life has not been the same since.
 |
| My first discount frame job. |
Of course, when I decided to document the process, I ended up with the most difficult piece I've ever taken apart. Well, at least you'll see the worst-case scenario--when you do it, it will probably be easier than this.
First of all, I had this "designer" 10x10 photo that was part of one of my freebie packages from the department store studio session.
 |
| You can't see the teary red eyes as well in sepia tone, it turns out. |
So I found this lovely bathtub art at Ross. It wasn't even on clearance, and I think it cost $12.99.
 |
| Classy! |
These are the supplies I used for this project.

In order of usage,
1. hairdryer
2. flat head screwdriver
3. phillips screwdriver (may not be necessary; will depend on how your photo hanger is connected)
4. box cutter (or exacto knife)
5. (not photographed--you may need scotch tape)
6. scissors
7. glue stick
First, when purchasing any kind of glassware with stickers on it (I swear, what sort of crazy permanent adhesive do they use at Ross/TJMaxx/Marshalls for their photo frames?), heat the sticker with your hairdryer for a good long while. Just keep checking the edges of the sticker to see if they are easy to peel, then keep on blowing the hot air on the sticker while you ease it up. As a frequent discount shopper, this tip I found on pinterest changed my life.

Next you'll need to remove the staples that hold the original artwork into the frame. A flathead screwdriver works great for this. Sometimes you may need pliers to tweak the staples all the way out.

Also remove the photo hanger, and make sure you put it in a safe place because you'll need it later.
 |
| Some of these are just pounded in and can be removed with the flathead. You can tell this one is fancy because I needed the phillips. |
Then rip the paper backing off of that sucker.
 |
| I should have included MY BARE HANDS as one of my tools. |
Aha, what have we here? This piece, unlike most I have encountered, had some sort of fiberboard backing under the paper that was nailed into the frame with little brad-type nails. This made it a little tougher to get apart (and reassemble). Usually you will find some sort of metal clip that folds out easily with the screwdriver, which you will later press back in place once your own artwork is in there. But don't worry, I pried it out and saved enough nails to put it back together.

 |
| It must be very precious bathtub art to merit all this protection. |
Use the box cutter to carefully separate the art from the mat.

 |
| Peeling the art back from the mat |
Admire your handiwork after you have removed the art. Most likely, you will discard the art at this point.
 |
| Anybody want to buy a picture of a bathtub? |

Before you put it back in the frame, make sure you turn it over and check out how it's lining up.
Then replace the backing and push down whatever little thingies were holding it in place.

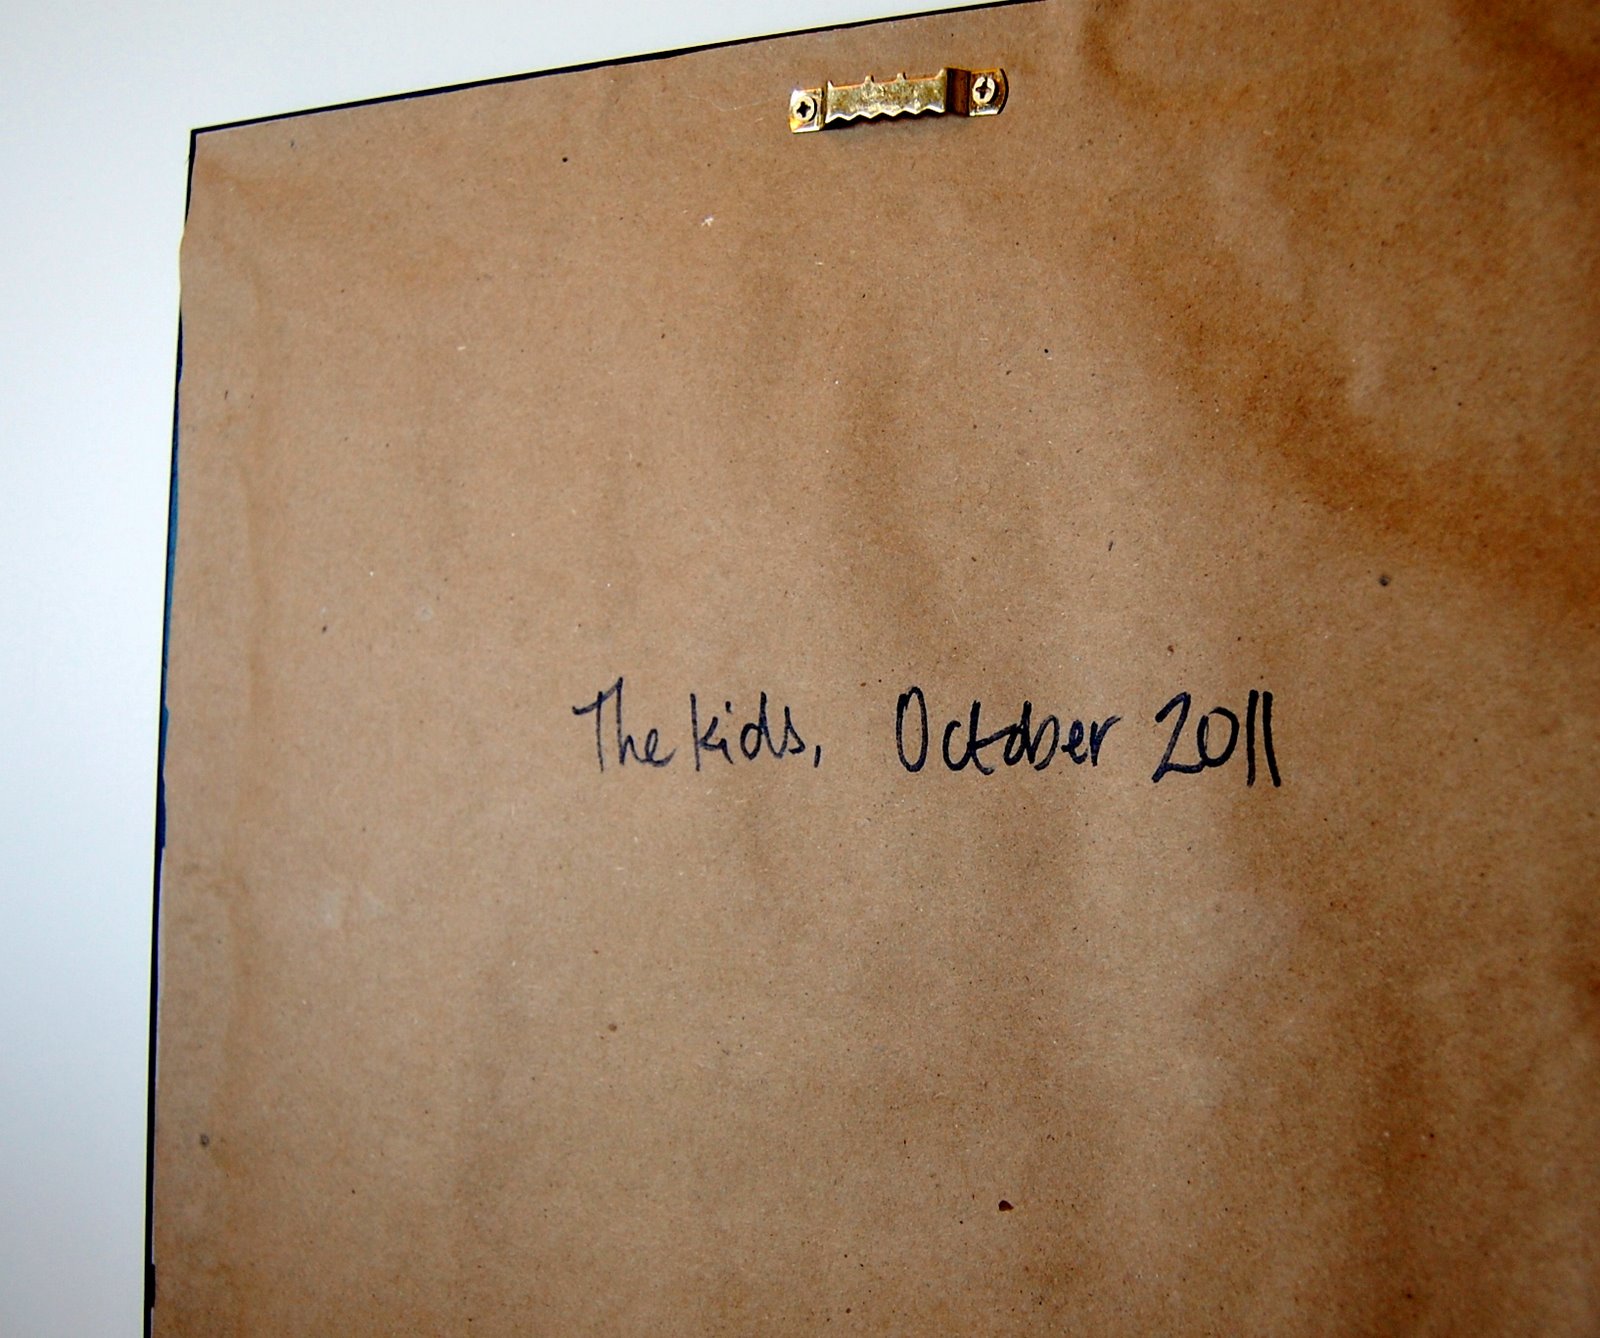
If this is just going on the wall in your own house, you can put the picture hanger back on and be done with it. Come to think of it, you don't really have to remove it in the first place if you're not concerned about a nice neat back. But if you like to be fancy, you can paper the back first. I used plain brown wrapping from the dollar tree. They also have brown paper with patterns on it, which can be kind of cute. I used one with gold stars for Christmas gift photos one year.

Then use a screwdriver to find the original holes where the hanger was attached, line it up, and screw that sucker back on.
 |
| It goes right here. |
 |
| Ta da! |
And there you have it! A framing job that would have cost you at least $100 at a frame store, for only $12.99!


Love it, Beth!
ReplyDeleteBRILLIANT! I AM SO USING THIS IDEA. Thanks for the tutorial, too. You are genius!
ReplyDeleteOoh, I forgot to mention--when I am going frame-shopping, I always bring the piece I want to frame with me, to make sure it will fit. Seems easier to me than knowing the measurements and measuring the frames that you find, but that would work too.
ReplyDeleteGenius idea, Beth! This will come in so handy for pictures of the wee one, when he finally arrives.
ReplyDeleteThis looks like something that even I, who am non-crafty, can handle! And your hairdryer trick has literally just changed my life.
ReplyDelete